Installing and Configuring RabbitMQ
RabbitMQ is used as the message broker by both IEE and Action Manager, so it must be configured for each. If you have IEE and Action Manager installed in separate virtual machines (VMs), then RabbitMQ should be installed in each VM.
Download and run the following binaries, in this order:
-
Erlang: https://www.erlang.org/downloads
-
Download the 64-bit binary for 64-bit machines
-
Ensure that the environment variable
ERLANG_HOMEhas been created during installation. If it has not, set the path as follows: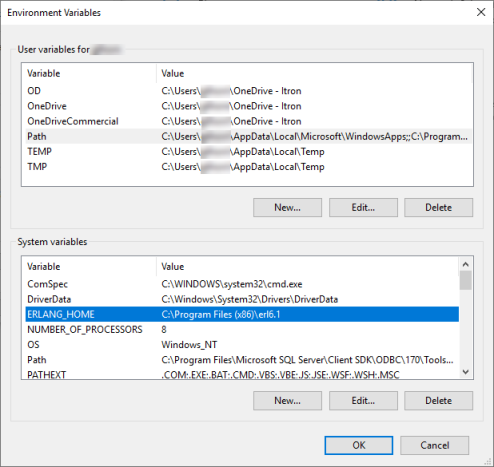
-
-
RabbitMQ: https://github.com/rabbitmq/rabbitmq-server/releases - download
rabbitmq-server-3.9.1.exeor higher version.-
Double-click the executable. The RabbitMQ installation wizard opens.
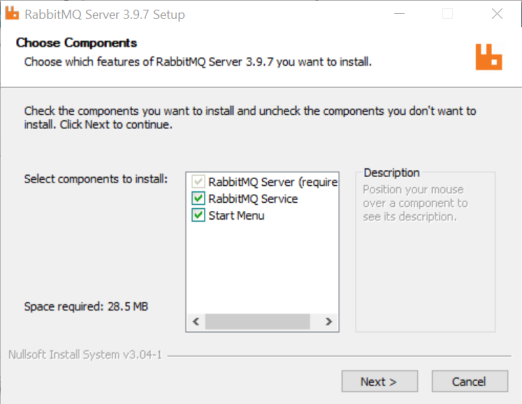
Click Next.
-
Click Browse to choose a different install location, if desired.

-
Click Install.
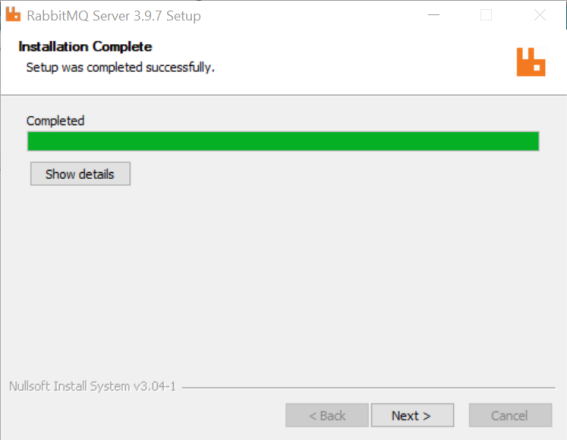
A status bar displays the installation progress.
-
When the wizard says "Installation Complete," click Next.
-
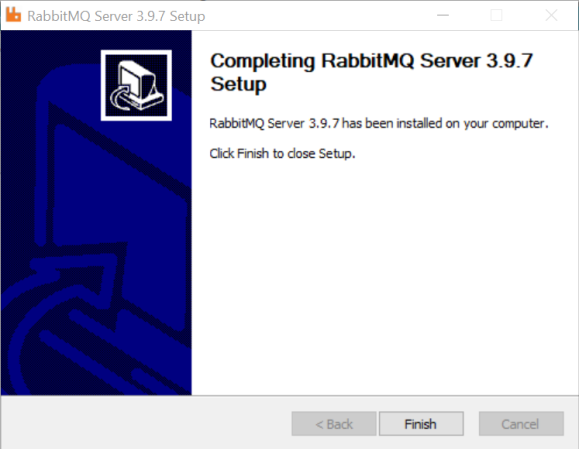
Click Finish.
-
Go to Windows Start > RabbitMQ Server > RabbitMQ Command Prompt.

-
Run the following commands, in this order:
-
rabbitmqctl status
-
rabbitmq-plugins enable rabbitmq_management
-
rabbitmqctl stop
-
rabbitmq-service start -localhost:15672
-
-
Open a web browser and go to the following URL:
http://localhost:15672/#/channels
-
Proceed to installing the next needed Itron Enterprise Edition (IEE) Meter Data Management (MDM) component.
-